I love Fall!! It’s my favorite time of year. The way the leaves change color is so enchanting to me. The cooler weather is probably at the top of my why I like Fall list – of course in Texas, Fall moseys in taking its sweet ol’ time. I find myself watching the weather impatiently waiting, but it’s like waiting for a pot of water to boil…the longer you watch the longer it takes. Instead, I will make all the Fall things!!
Enter the Sunnshyne Pumpkin pattern.
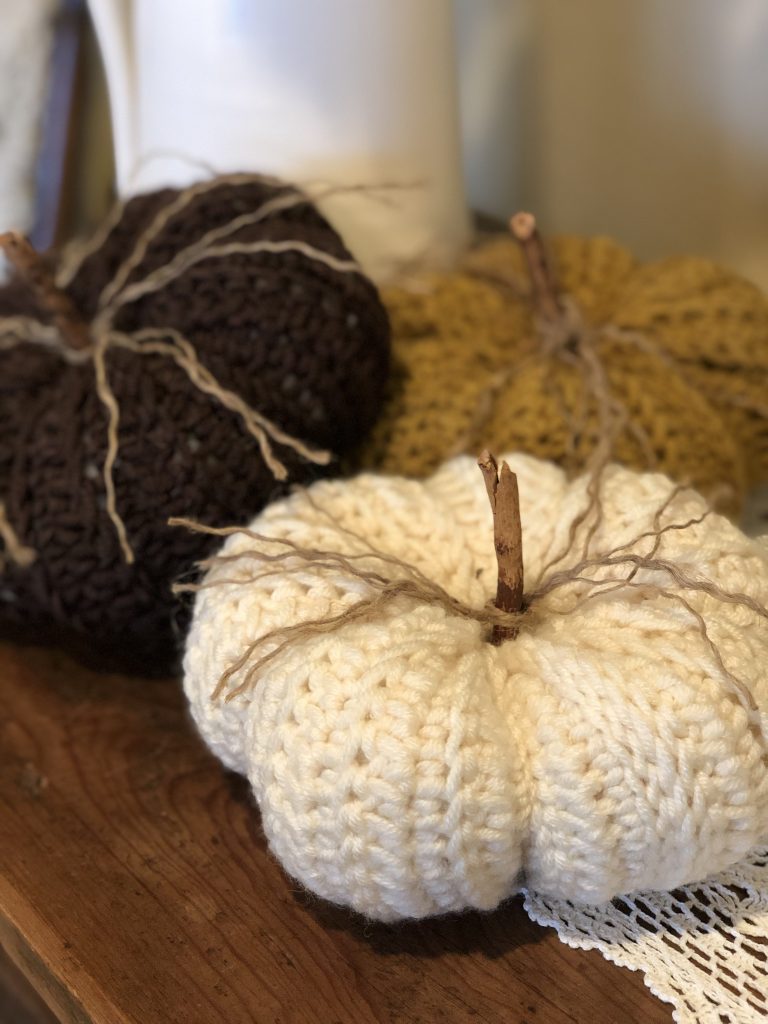
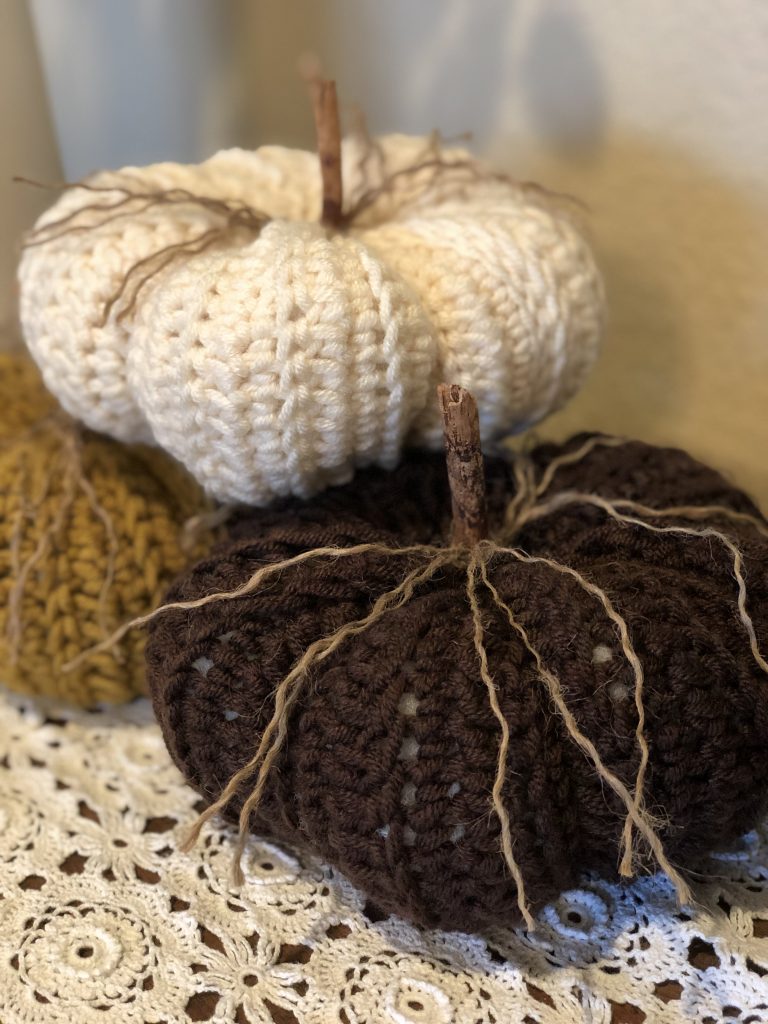
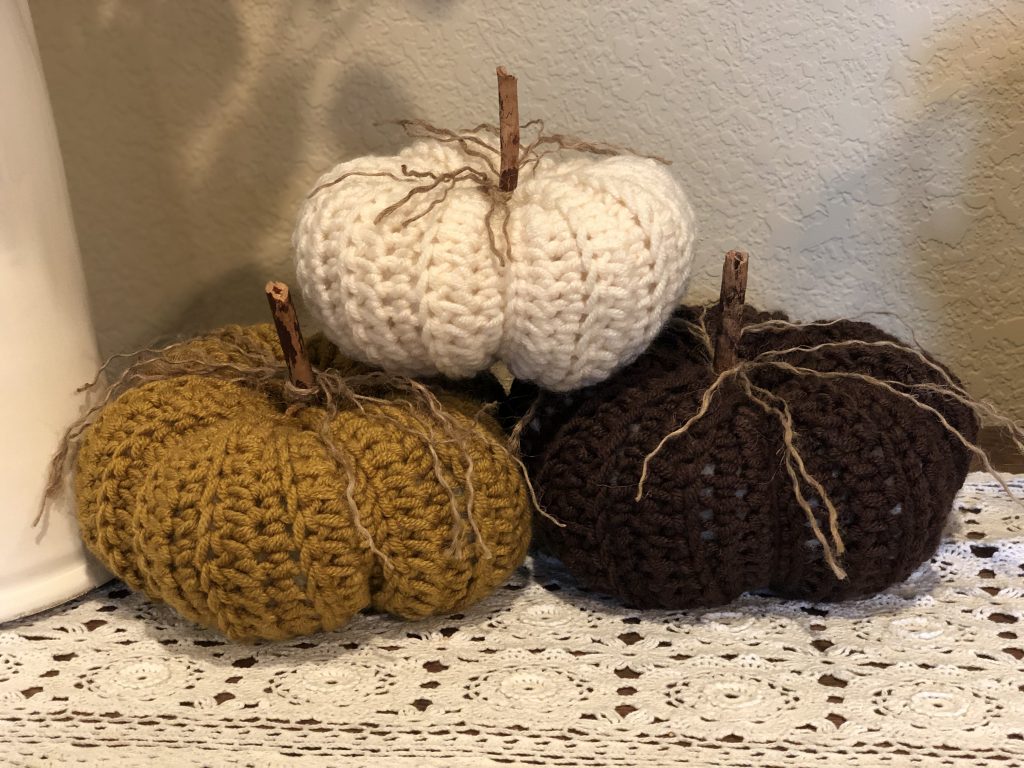
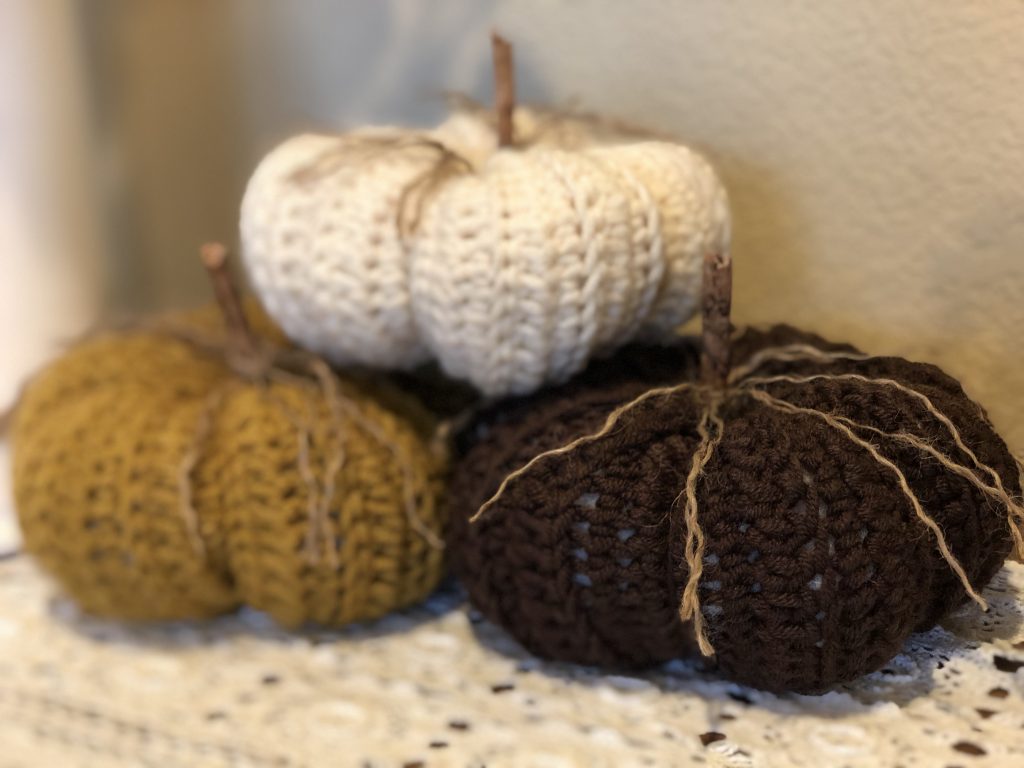
Pumpkins are so cool, especially the funky ones that are bumpy, white, or even green and orange marled. They’re so fun and have so much character. I wanted my pumpkin to have character too with some ridges and lots of bumps. Of course I made it in a few different colors! I just need to find that perfect green and orange marled yarn next. 😉
How to Crochet a Sunnshyne Pumpkin
What you will need:
Bulky weight yarn in your choice of color and fiber
7mm crochet hook
Stick – we found ours in the park
Jute – about a foot in length
Poly fiber fill
Tapestry needle
Scissors
Instructions:
Chain 21
Row 1. Sc in the back bump of 2nd chain from the hook and across. (20sc)
Row 3. Turn, ch1, sc in the back loop (scblo) across. (20scblo)
Row 4 to the end. Repeat rows 2-3 17 times. I counted each ridge created by the scblo to keep my row count. Chain 1 at the end of the last row 3 repeat.
To assemble:
Fold in half so the ends are together. Smooth rounded sides together for a ridged pumpkin or ridged sides together for a more rounded pumpkin. Slip stitch the two ends together inserting your hook into the back loop of the front half and the front loop of the back half. You should have 20 slip stitches. Chain 1.
Cut a very long length of yarn and pull it all the way through the last chain. Thread the yarn onto your tapestry needle. Loosely weave your needle and yarn in and out around one end of the tube you created. Once you’ve made it all the way around, pull the yarn tight to gather the end closed. To help secure the hole closed, run the needle and yarn through a few more stitches and then across and back and forth a bit.
Next, run the yarn through the center of the gather at the bottom of your pumpkin to the top of your pumpkin. I tied my yarn to the original tail so that it didn’t pull the bottom up when I closed the top.
Fill your pumpkin with fiber fill until its as squishy or firm as you like it, keeping your yarn tail to the side. Now, repeat the same weaving process from the bottom at the top to close your pumpkin. Secure the hole just like you did before only this time, make sure to leave enough room to insert your stick.
You can leave it nice and round with just the ribbing bumps and fasten off now. Or, you can run your yarn around the outside of the pumpkin inserting the needle through the center of the pumpkin to the other end. Repeat that five times so you have an odd number of bumps. Secure the end of your yarn and weave in the end, trimming off the excess.
You can modify the pattern a bit to change the shape of your pumpkin. If you make a longer beginning chain you’ll have a taller pumpkin. If you increase the rows you make you’ll have a wider pumpkin, and if you decrease your rows you’ll have a smaller pumpkin. The pumpkins pictured measure about 3 1/2 inches tall and about 7 1/2 inches wide. I hope you enjoy making your pumpkins as much as I enjoyed creating them! I’d love to see your makes, post your pictures on Instagram and tag them with #sunnshynemaker and #sunnshynepumpkin.